When it comes to enhancing your online privacy and bypassing regional restrictions, using a paid IPv4 proxies can be a game changer. Proxies act as intermediaries between your device and the internet, shielding your IP address from the public.
However, when selecting a proxy, you are often faced with two choices: free proxies and paid proxies. In this blog, we will explore the key differences between these options to help you make an informed decision.
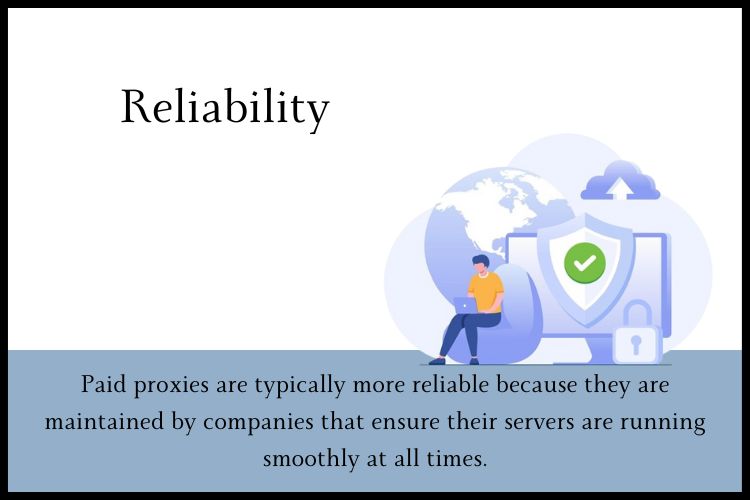
Reliability
One of the most significant differences between free and paid IPv4 proxies is reliability. Cheap paid proxies are typically more reliable because they are maintained by companies that ensure their servers are running smoothly at all times.
With paid proxies, you are less likely to experience downtime or slow connections, which can be common with free proxies. This is because free services often have too many users per server, leading to overloaded systems.
Speed
Speed is another critical factor where paid proxies usually have the upper hand. Since paid proxy providersallocate resources to ensure fast connection speeds, you are more likely to enjoy seamless browsing and streaming.
On the other hand, free proxies can be painfully slow, as they do not have dedicated resources to manage traffic efficiently. This can be frustrating, especially if you need a proxy for resource-intensive tasks like video streaming or large downloads.
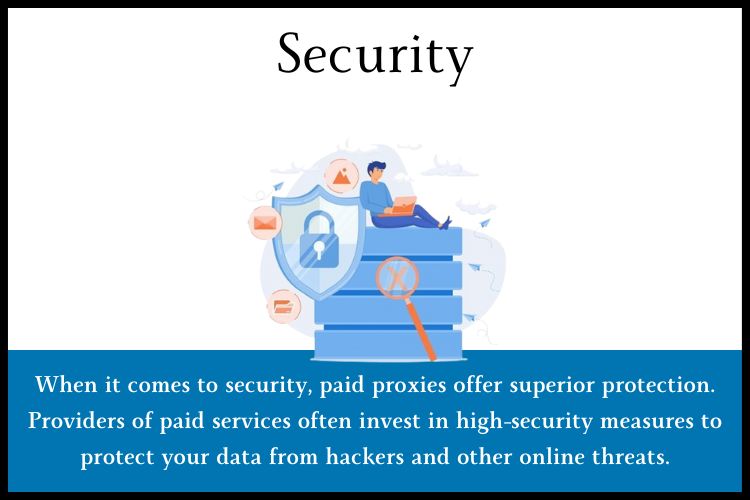
Security
When it comes to security, paid proxies offer superior protection. Providers of paid services often invest in high-security measures to protect your data from hackers and other online threats.
They may offer features like SSL encryption, automatic malware scanning, and more. Conversely, free proxies might not invest in such security measures, which could leave your sensitive information vulnerable to cyber-attacks.
Anonymity
Anonymity is another area where paid proxies tend to be more robust. Paid services often provide higher levels of privacy, ensuring that your real IP address remains hidden and that your proxy usage is not logged.
Many free services, however, may log your activities and even expose your IP address to third parties, which could compromise your privacy.
Customer Support
If you encounter issues or have questions about your proxy setup, customer support can be invaluable. Paid proxy services usually come with customer support, assisting when you need it.
Whether it’s troubleshooting or configuration help, having access to expert help can make a big difference. With free proxies, customer support is often non-existent, leaving you to deal with any issues on your own.
Conclusion
Choosing between free and paid IPv4 proxies depends on your specific needs and budget. While free proxies can be appealing for occasional use without spending money, paid proxies offer more reliability, speed, security, and customer support.
If you are serious about your online privacy and need a dependable proxy solution, investing in a paid proxy is usually the better choice.
For those looking to explore a variety of reliable and affordable proxy options, visit Cheap Proxy Server. We offer a range of proxy solutions tailored to meet your needs without breaking the bank.
Check us out for more information and to find the perfect proxy solution for you!
Frequently Asked Questions
Q1. Are free IPv4 proxies safe to use?
While free IPv4 proxies can provide basic anonymity, they often lack robust security measures, which can leave your data vulnerable to cyber threats. Paid proxies typically offer stronger security protocols to protect your information.
Q2. How do paid proxies ensure faster internet speeds?
Paid proxy providers allocate resources specifically to manage traffic and maintain high-speed connections. This ensures that users experience minimal slowdowns, unlike free proxies, which can be slow due to high traffic on limited servers.
Q3. Can I get customer support with free proxies?
Paid proxy providers allocate resources specifically to manage traffic and maintain high-speed connections. This ensures that users experience minimal slowdowns, unlike free proxies, which can be slow due to high traffic on limited servers.
Setting up a cheap IPv4 proxy on your server can seem daunting, but with the right guidance, it’s quite straightforward. This blog will walk you through the process step-by-step.
By following these simple steps, you’ll be able to implement a reliable and efficient proxy that can manage your online data flow securely.
What You'll Need
Before you begin, make sure you have the following:
A dedicated or VPS server with root access.
An IPv4 address that you can use as your proxy.
Basic knowledge of command-line interface operations.
Step 1: Choose Your Proxy Server Software
First, you need to choose the right proxy server software. There are several options out there, but for the purpose of this guide, we’ll focus on using Squid, which is a free and powerful proxy software. It’s widely used and supports IPv4 protocols.
Step 2: Install Squid
Installing Squid on your server is your next step. If you’re using a Linux server, you can typically install Squid using your package manager. For most Debian-based systems, you can use the following commands:
sudo apt-get update
sudo apt-get install squid
Step 3: Configure Squid
After installation, you’ll need to configure Squid to act as your proxy server. This involves editing the Squid configuration file located at /etc/squid/squid.conf.
Open the configuration file with a text editor, like Nano:
Open the configuration file with a text editor, like Nano:
sudo nano /etc/squid/squid.conf
Locate the HTTP port section and change it to your preferred port number, usually 3128 is default.
Specify the ACL (Access Control List) to define who can use the proxy. Below is an example that allows only your specific IP to access the proxy:
acl mynetwork src 192.168.0.1/32 # Change the IP address to your IP
http_access allow mynetwork
4. Save and close the file.
Step 4: Start and Enable Squid Service
Once your configuration is done, you need to restart Squid to apply the changes:
sudo systemctl restart squid
sudo systemctl enable squid
This makes sure Squid starts up every time your server reboots.
Step 5: Verify Your Proxy Setup
To ensure everything is set up correctly, you can test your proxy with tools like curl:
Replace your_server_ip with your server’s IP address. If it’s working, it should return the HTML content of the website.
Troubleshooting Common Issues
If you encounter issues, check the following:
Ensure that the server firewall isn’t blocking your proxy port. Verify that your ACL settings are correct and that the right IP addresses are allowed. Check the Squid logs for any errors, located in /var/log/squid/.
Conclusion
Setting up a cheap IPv4 proxy on your server can significantly enhance your online security and efficiency. By following the steps outlined above, you can easily configure and run a proxy server that suits your needs.
For more detailed information on proxies and to explore further options, visit our website at Cheap Proxy Server.
We provide a range of affordable and reliable proxy solutions to fit any requirement.
Frequently Asked Questions
Q1. What is an Access Control List (ACL) in Squid?
An ACL in Squid is used to define rules that allow or deny users access to certain services. It helps in controlling access based on IP addresses, URLs, protocols, and even times of access, enhancing security and management of network resources.
Q2. How can I confirm that my proxy is set up correctly?
You can test your proxy setup using tools like curl. Execute a command that requests a web page through your proxy. If the setup is correct, you will receive the HTML content of the webpage. If there are issues, you may need to review your configuration settings or check the server’s firewall rules.
Q3. What should I do if my proxy isn’t working?
First, check the firewall settings to ensure your proxy port is not blocked. Review the ACL settings in your Squid configuration file to ensure correct IP addresses are permitted. Also, check the Squid logs at /var/log/squid/ for any error messages that could indicate what might be wrong.