In today’s digital world, privacy and security are becoming increasingly important. One way to ensure your online activities remain private is by using Cheap IPv4 Proxies. These proxies offer a budget-friendly way to hide your IP address while browsing the internet, making them a popular choice for individuals and businesses alike. In this blog, we’ll explore what cheap IPv4 proxies are, how they work, and why they can be beneficial for your online needs.
What Are IPv4 Proxies?
IPv4 proxies are servers that act as intermediaries between your device and the internet. When you use an IPv4 proxy, your device connects to the internet via the proxy server, which changes your IP address to the one associated with the server. This helps keep your actual IP address hidden, ensuring better privacy and security when browsing online.
Why Choose Cheap IPv4 Proxies?
1. Affordable Yet Effective
One of the biggest reasons people opt for cheap IPv4 proxies is the affordability they offer. Unlike expensive dedicated proxies, cheap IPv4 proxies can be just as effective at hiding your identity and protecting your privacy. They’re a great option for those who need a proxy service but want to avoid the high costs often associated with premium services.
2. Improved Online Security
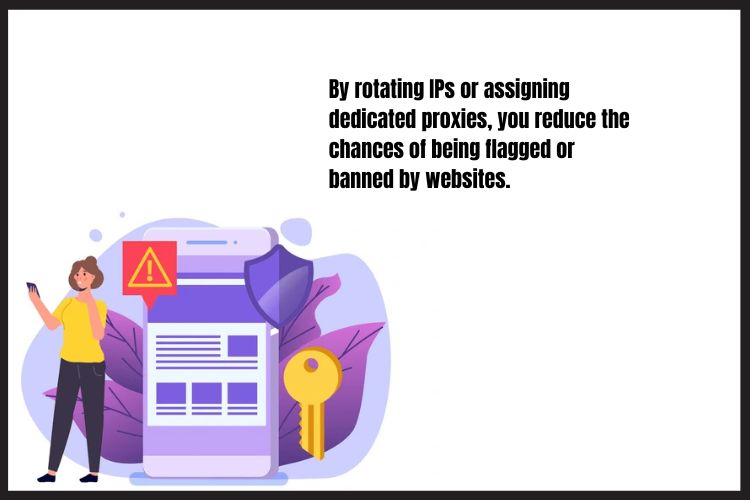
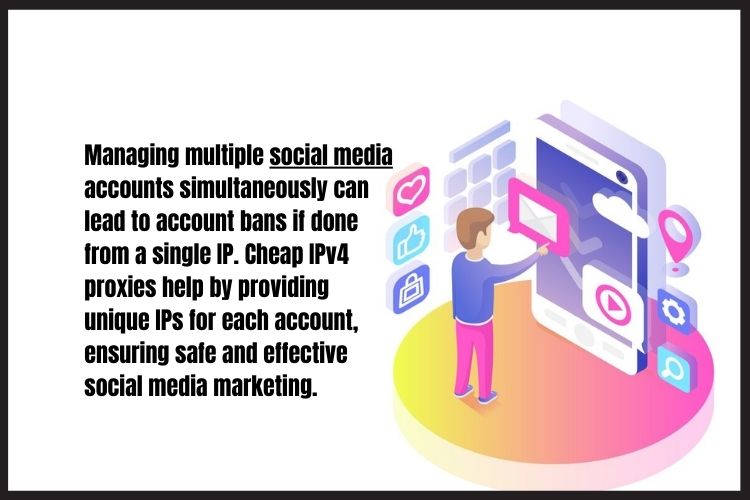
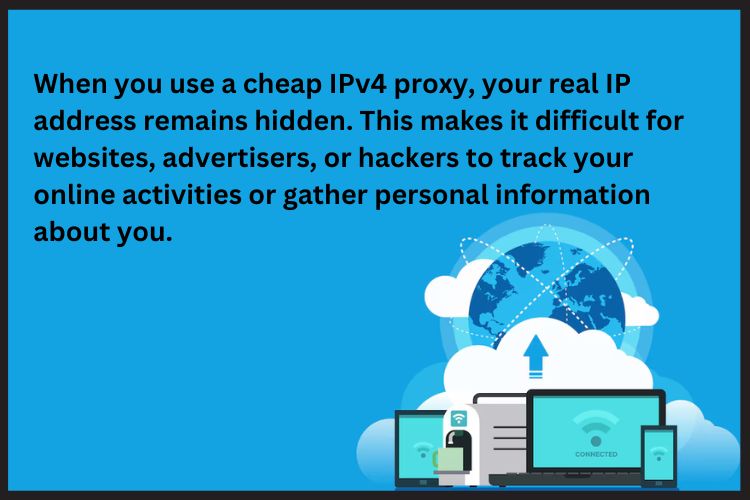
By masking your original IP address, cheap IPv4 proxies can help protect you from various online threats. Whether you’re browsing social media, shopping online, or engaging in other activities, these proxies add an extra layer of security. They make it much harder for hackers or malicious entities to track your activity, keeping your sensitive data safe.
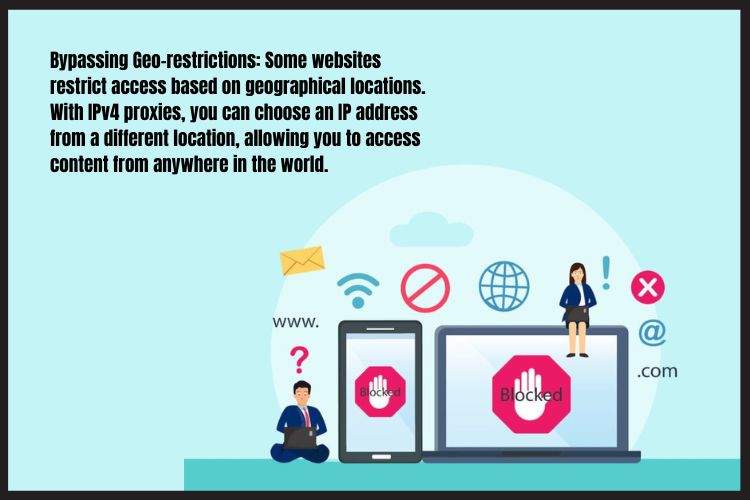
3. Bypass Geo-Restrictions
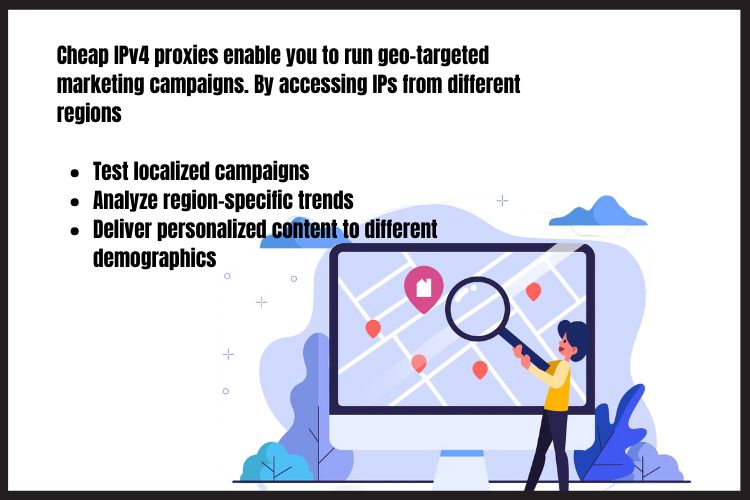
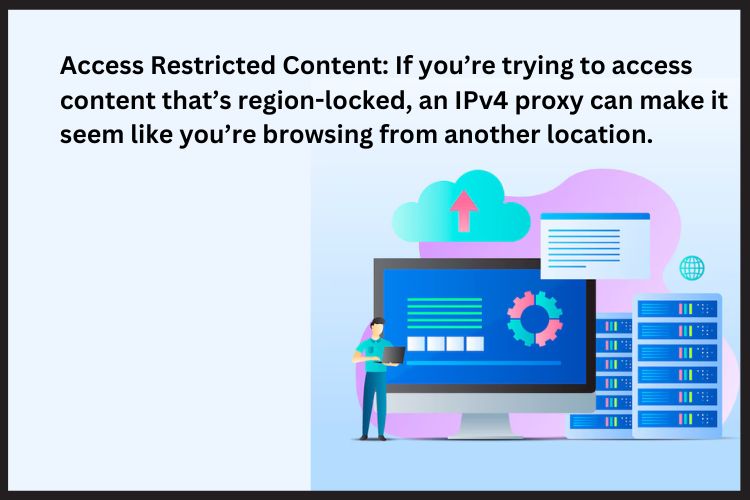
In addition to offering privacy and security, cheap IPv4 proxies allow users to bypass geo-restrictions. Many websites and online services limit access based on your geographic location. With a proxy, you can appear to be browsing from a different location, allowing you to access content that might otherwise be blocked in your region. This is especially useful for accessing region-specific content, services, or information.
How Do Cheap IPv4 Proxies Work?
IPv4 proxies function by routing your internet traffic through a proxy server. When you connect to a website, instead of your request being sent directly from your device, it’s sent through the proxy server. The server then requests on your behalf and sends the response back to you. This process hides your real IP address and makes it appear as though the request is coming from the proxy server.
Types of Cheap IPv4 Proxies
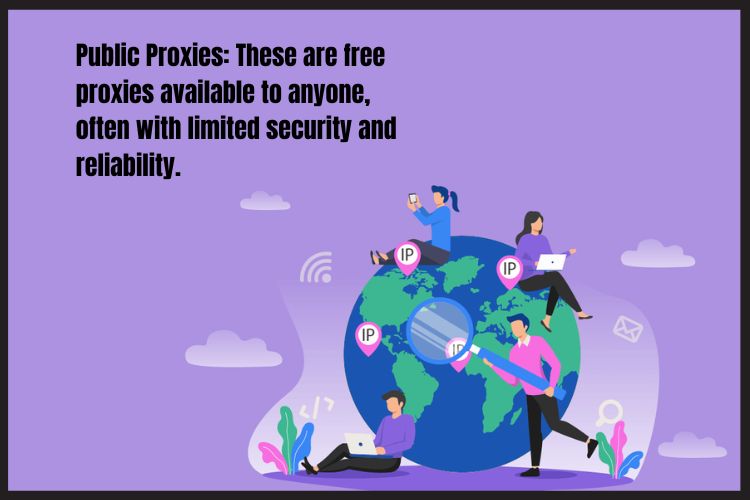
Shared Proxies: These proxies are shared among multiple users, making them more affordable. However, since multiple users share the same proxy, the connection may sometimes be slower.
Dedicated Proxies: A dedicated proxy is used by only one person, which ensures a more reliable and faster connection. Though these proxies are more expensive, they are best for those who require constant and fast access.
Advantages of Using Cheap IPv4 Proxies
- Enhanced Privacy: Hide your real IP address, preventing websites and online services from tracking your activity
- Access Geo-Restricted Content: Get around location-based restrictions and access websites and services from different regions.
- Increased Anonymity: Protect your personal information while browsing or using online services.
- Affordable Solution: Cheap IPv4 proxies offer a budget-friendly way to enjoy online privacy and security.
Conclusion
If you’re looking for an affordable and effective way to safeguard your online privacy, cheap IPv4 proxies are a great solution. They offer security, anonymity, and the ability to bypass geo-restrictions, all at a lower cost than premium proxy services. For reliable and cost-effective proxy services, visit cheapproxyserver today.
Frequently Asked Questions
Q1: What are IPv4 proxies used for?
IPv4 proxies are primarily used to hide your real IP address, improve online privacy, bypass geo-restrictions, and secure your internet connection.
Q2: Are cheap IPv4 proxies reliable?
Yes, cheap IPv4 proxies can be reliable for many users, especially when used for basic browsing and security. However, for high-demand tasks, dedicated proxies might be a better choice.
Q3: Can I use cheap IPv4 proxies for business purposes?
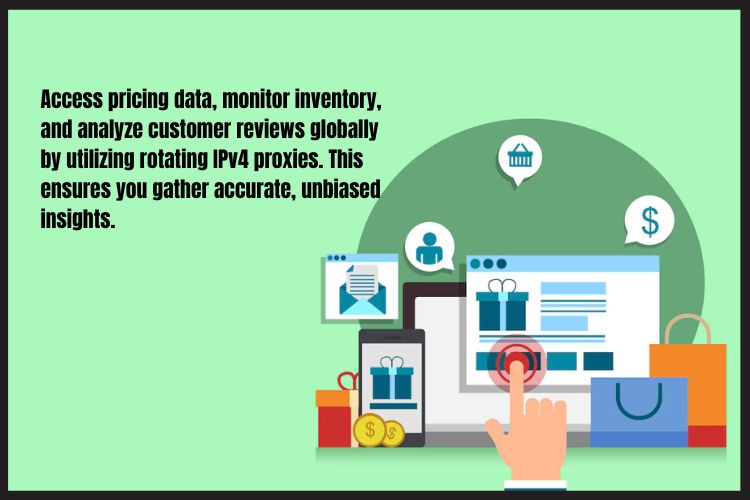
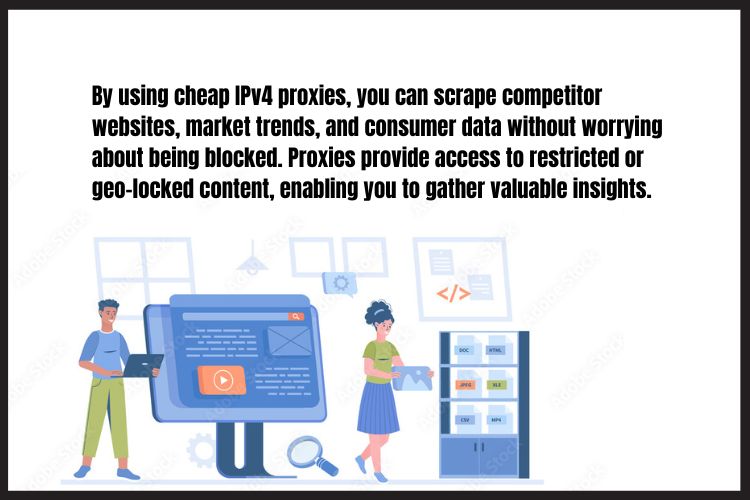
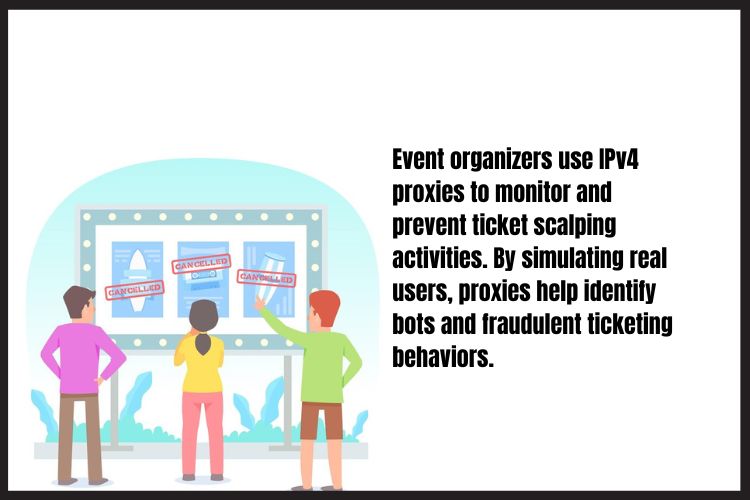
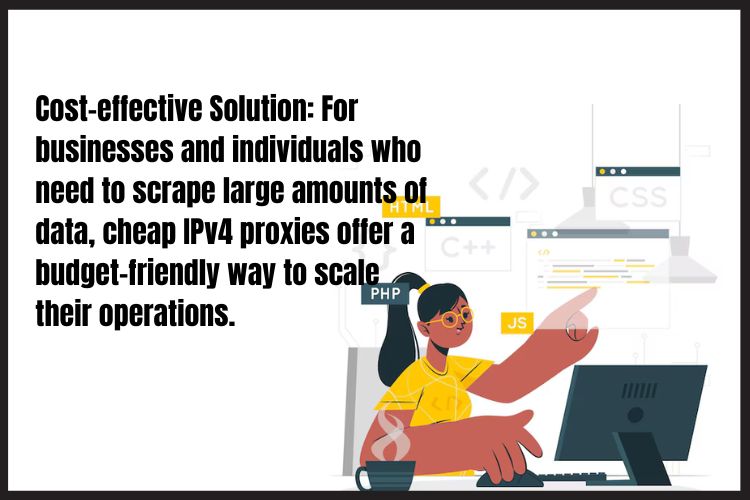
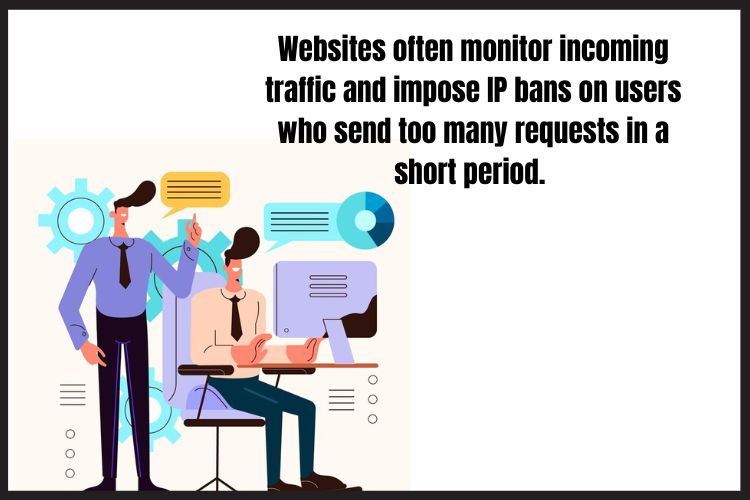
Absolutely! Businesses often use IPv4 proxies for tasks like market research, web scraping, and accessing region-specific data. Cheap IPv4 proxies can be a great cost-effective option for these purposes.
Q4: How do I choose the best cheap IPv4 proxies?
Look for providers that offer stable and secure connections, good customer support, and reliable uptime. Always check for reviews and user experiences to ensure the quality of the service.